
Before you start: what to think about before installation
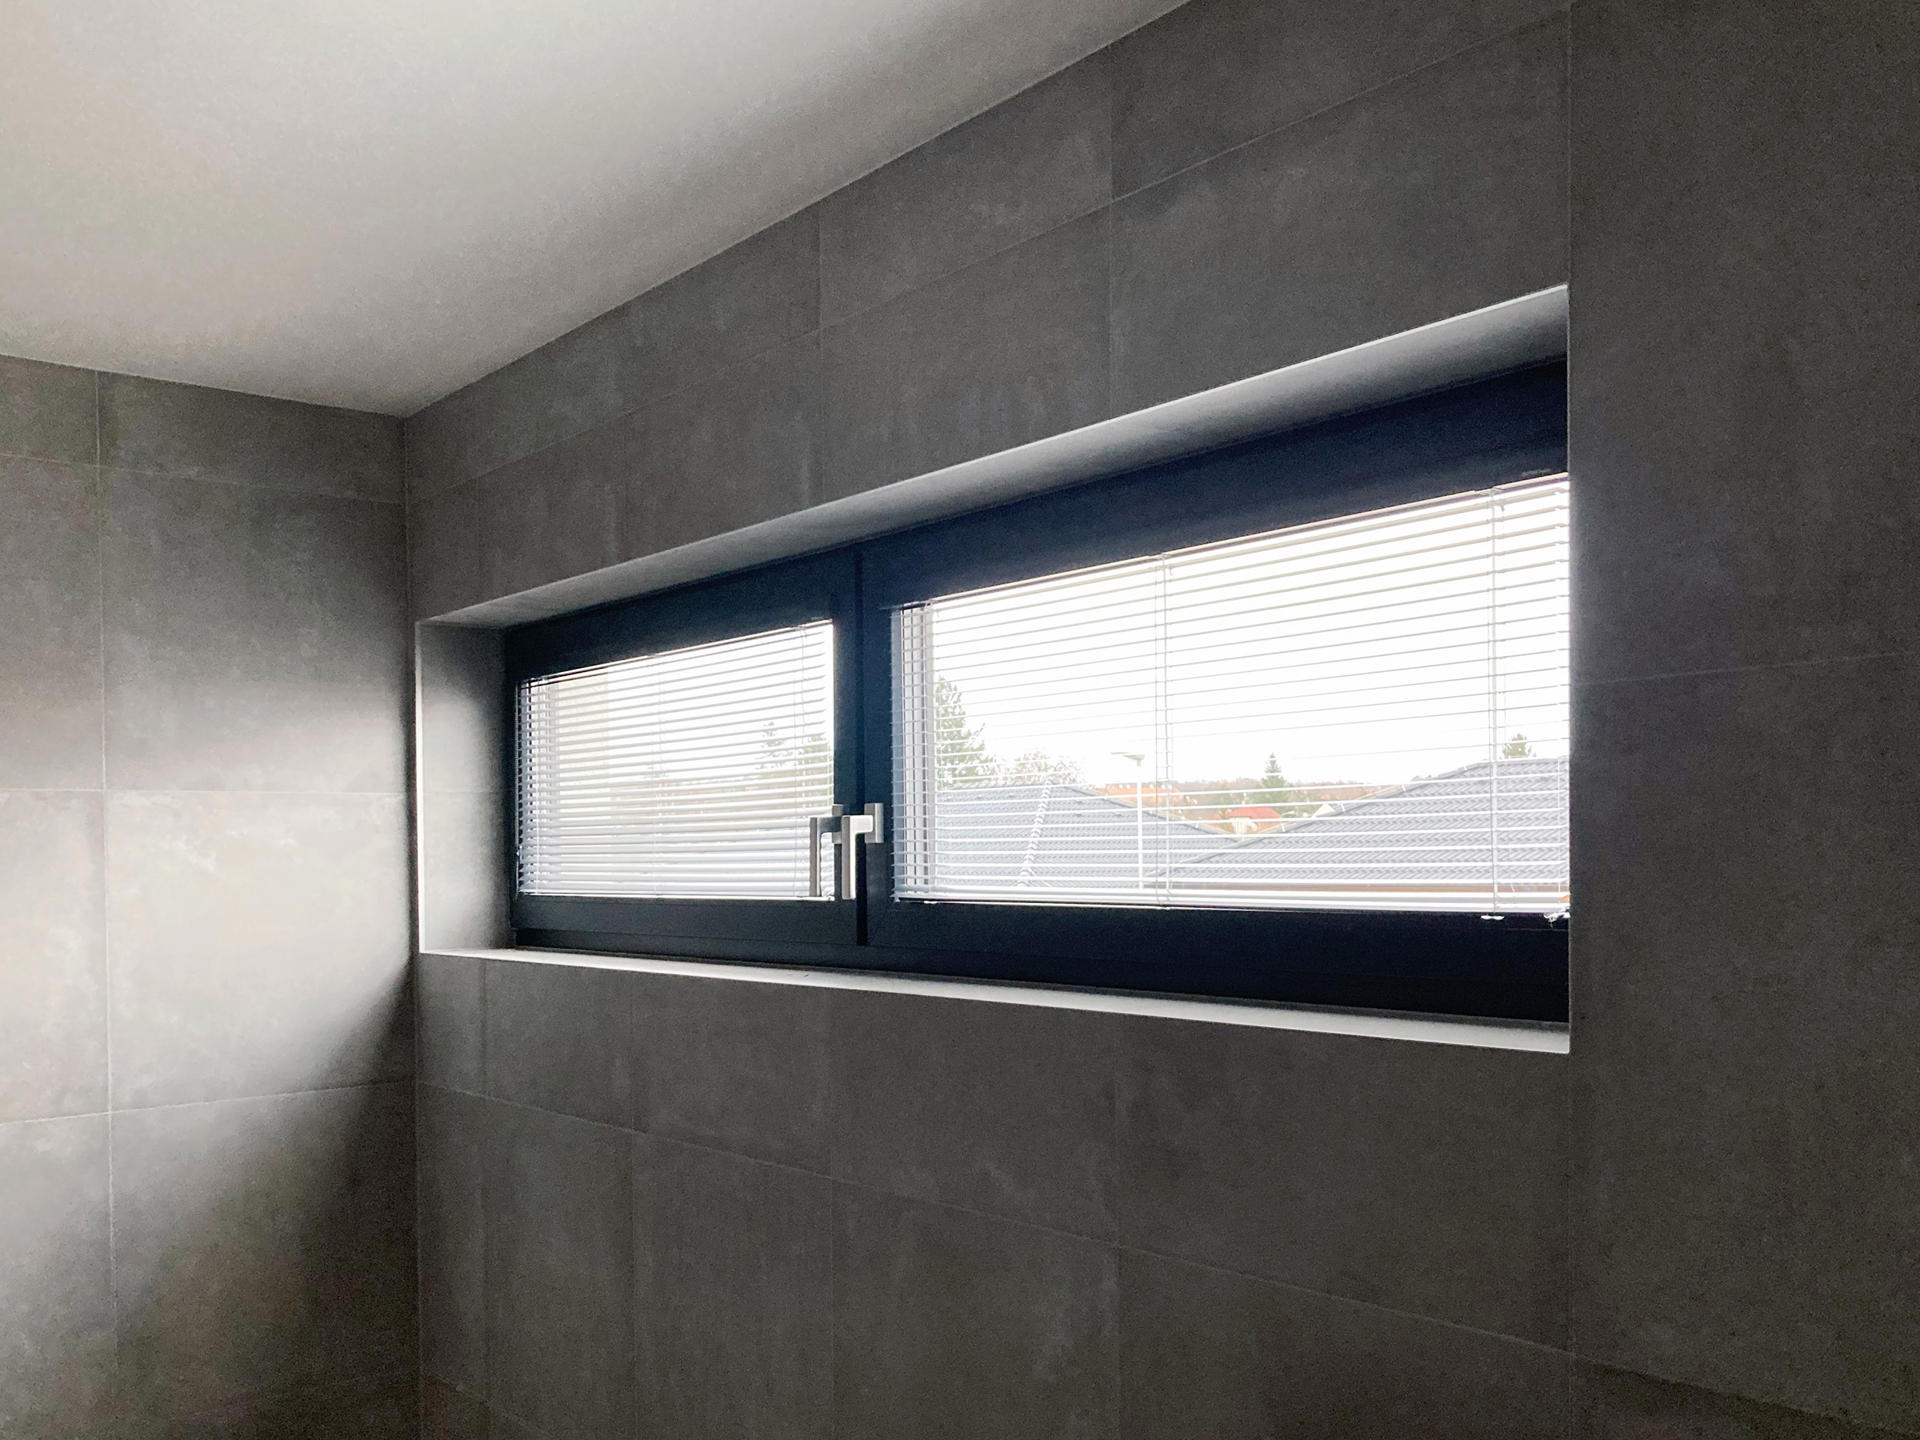
Every successful installation starts with deciding exactly where you want to place the blinds. For interior blinds, installations in the glazing slat or directly on the window frame are the most frequent options. This method ensures a clean look, firm attachment and natural movement with the window. However, in some interiors, blinds mounted in the lintel or on the wall may also make sense, for example if the window has an atypical shape. For custom-made blinds, the manufacturer takes into account precise clearances and the position of the fixtures. The type of window (plastic, wood, aluminium) will also affect the selection of suitable screws.
How to measure blinds correctly
The act of measuring is the most important part of the entire process and errors can easily occur within using. If you want to install in a glazing slat, always measure its internal width and height in three positions at least. Windows are not perfectly straight and small deviations can cause the blinds to not go down freely or to get stuck in a certain position. Always use the smallest value for the resulting dimension.
When installing on a window frame, measure the external width, i.e. the entire width of the frame at the point where the upper profile will be attached. Measure the height from the upper edge of the frame to the point where you want the blinds to be lowered.
Which tools will you need to install blinds?
Installing interior blinds does not require any specialized equipment. Usually, you need a tape measure, pencil, drill or cordless screwdriver and the appropriate drill bit. Self-drilling screws are used for mounting in the window frame, and a masonry drill and dowels for mounting in the wall. The blinds usually come with brackets and fasteners, so you don't have to worry about finding them. A spirit level can also come in handy to help align the upper profile.
Blind installation procedure step by step
1. Checking the blind before installation
Before installation itself, check whether the size of the blind matches the width of the window sash and whether the control is located on the correct side. Do not extend or lower the blind before installation - manipulation is only carried out in horizontal position.
2. Placing the blind in the window sash
Place the blind in the window sash at the installation location and check that it is correctly aligned with the glazing slat. Depending on the depth and shape of the slat, it may be necessary to use spacers in some cases to ensure that the blinds sit straight.
3. Marking and screwing the upper profile
After attaching, mark the position of the screws directly on the window sash. The upper profile of the blinds is attached right to the window frame for interior blinds, most often to the glazing slat. For plastic windows, only the slat is drilled to avoid damaging the window sash. After marking the holes, screw the blinds in place using screws according to the size and type of the window.
4. Installing nylon leaders
For interior blinds, the assembly includes nylon leaders that pass through the side panels of the blinds and are attached to the bottom of the glazing slat using tension pins. The holes for the pins are drilled from above into the slat, or into its front, if the shape of the slat does not allow drilling from above. The nylons are tensioned so that the blinds remain against the frame when the window is tilted. The excess ends are cut off and tucked into the upper profile.
5. Functional test of the entire blind
After completing the installation of the blinds, lower them for the first time, tilt the slats and test the entire system. Check that the blinds move smoothly, the nylons are evenly tensioned and the control works without resistance. Only after complete installation, the blinds can work properly.
When it is advisable to leave the installation to experts
The installation of interior blinds is usually easy to handle on your own, but there are situations when it pays to turn to professionals. This applies especially to atypical windows, a larger number of blinds in one set or cases where you are not sure about the appropriate type of attachment. For older windows, it can sometimes be useful to consult the installation first.
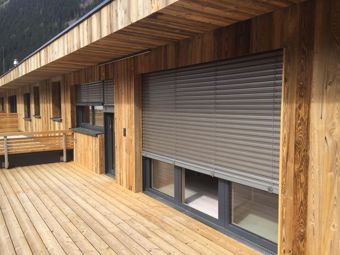
It is also good to know that self-installation of exterior blinds is not recommended - this is a technically more demanding system that requires professional expertise and installation.
For regular installation of interior blinds, the price for the work is usually roughly in hundreds of crowns per piece, with the resulting amount depending on the region, type of installation and number of blinds installed.
Maintenance of interior blinds
After installation, it is a good idea to clean the blinds once in a while with a duster or a slightly damp cloth. Also regularly check the tension of the nylon leaders and the tightness of the fixtures. When washing windows, always pull the blinds up so that the slats do not bend.
In most households, the installation will be smooth and with no complications. Just follow the procedure step by step and allow yourself enough time for the installation.
FAQs
1. How do you install blinds in a plastic window?
For plastic windows, installation is usually simple. Self-drilling screws or special fasteners are used in the frame that will not damage the surface. It is important to choose the correct length of the screw so that it does not penetrate the reinforcement inside the frame. The procedure is therefore very similar to that of wooden windows - the only difference is the type of fastening material used.
2. How much does it cost to install interior blinds and is there an approximate price list?
For regular interior blinds, the price for the work is usually in the hundreds of crowns per piece. The final amount is affected by the region, type of installation and number of blinds installed. If you want to get an idea, the approximate price list for installing blinds is usually provided by local installation companies.
3. What are the most common mistakes when installing blinds?
The most common mistakes include inaccurate measurements, which can cause that the blinds do not fit properly or get stuck. The correct distance from the glass is also important; mounting too close can cause the slats to touch the pane.
4. How do I know that this blind installation guide is suitable for my windows?
The guide is universal for most common interior blinds. If you have atypical windows, a special frame design or a custom-made system, some steps may need to be adjusted. However, the basic principle of blind installation remains the same.


